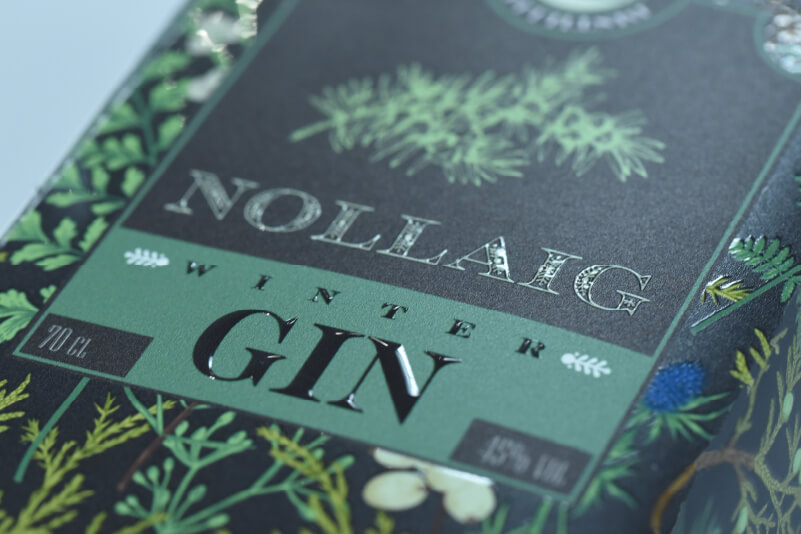
In our previous article, we introduced our Winter Gin Application Challenge. There, we found out a lot about packaging design and now came the time to put our knowledge into practice.
Modern packaging prototypes can feature a range of different techniques and approaches, from embossed effects to foil details, and cut-out sections exposing the product. When it comes to making folded card box prototypes, there are a couple of ways to tackle it using digital print.
Method 1: Applying Printed Vinyl to a Cardboard Cut-out
Cutting and Creasing the Box
At the design stage, we composed our artwork in a dieline. Once this was created, complete with crease lines, it was a simple matter of cutting and creasing some semi-rigid metallic card stock. To achieve this, we used our GR2-640 wide format cutter along with Roland VersaWorks. Having exported the design to an PDF file, we simply imported it to VersaWorks and sent the job to the cutter.
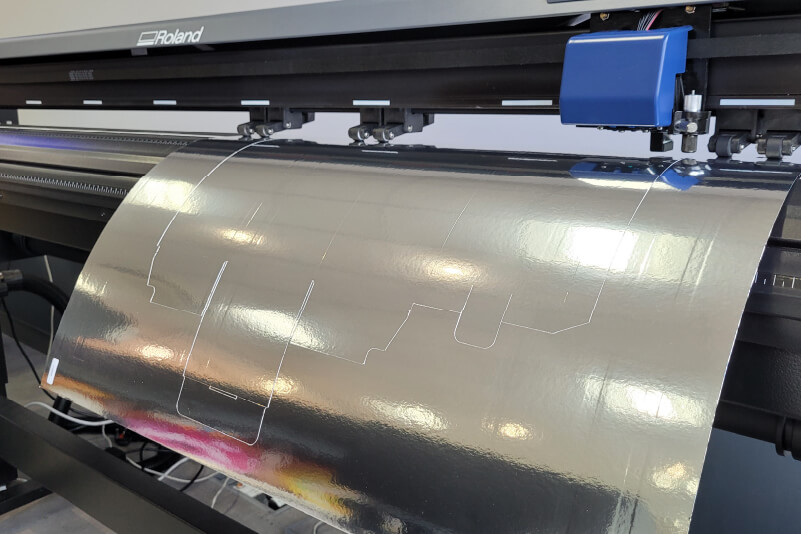
As a quick note, if you attempt this, make sure to perform the creases first as this won’t be possible once the pieces have been cut from the card. If you don’t have a creasing tool, you can get around this by using a cutting blade set with a low blade force. This lightly scores the card, rather than creasing, but if you are covering the card in vinyl anyway, it doesn’t matter too much.
Once all the pieces were creased and cut out, we assembled the box to ensure all our calculations were correct before going ahead with applying the vinyl.
Preparing the Vinyl for the Box
Since we already had the dieline data, this was a simple process of placing the artwork in a separate layer and assembling all the elements. We started out with a repeating floral pattern as a background and went about creating a name and logo for the front of the box, and a section for the back including some bombastic and grandiose marketing copy!
We also included a blank section on the front to personalise the box, but we’ll go into that in another article.
Before completing the design, we made sure to extend the cutline a few millimetres beyond the edge of the dieline of the box. This would give us some excess to fold around the card, so its edges were not exposed, as well as giving us a little leeway when applying the vinyl.
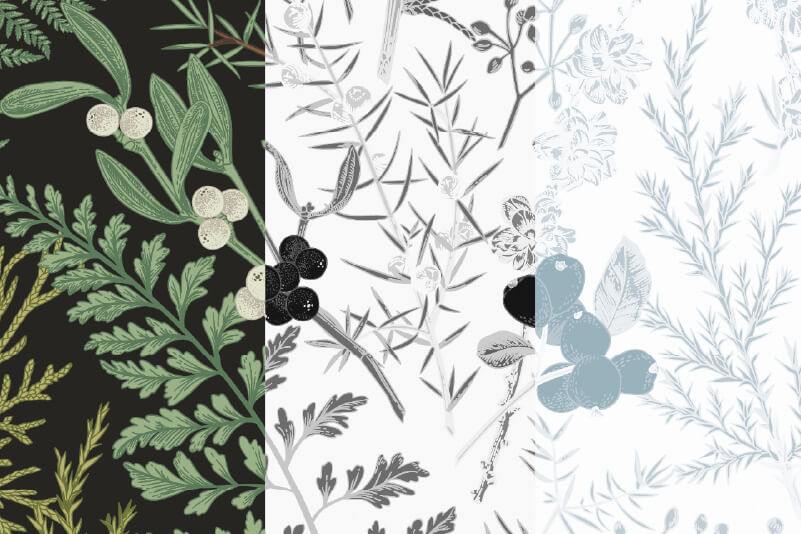
We wanted to include an attractive gloss effect to emphasise the floral pattern, as well as to highlight some of the text. The text and vector elements were simple enough, but the floral pattern required a little more expertise. It went like this:
- Mask the background area and hide unwanted items to show only the areas which would include spot UV ink.
- Export the artboard as a flat raster image (we exported a JPG at 4× size to capture as much detail as possible).
- Open the JPG in Photoshop and convert to greyscale, then invert the colours.
- Save the JPG and bring it back into Illustrator.
- Align the graphic with the existing floral pattern (since we exported the entire artboard, rather than just the floral pattern, this was much easier to do accurately).
- Select the graphic and, using the eyedropper tool, recolour with VersaWorks’ gloss ink swatch.
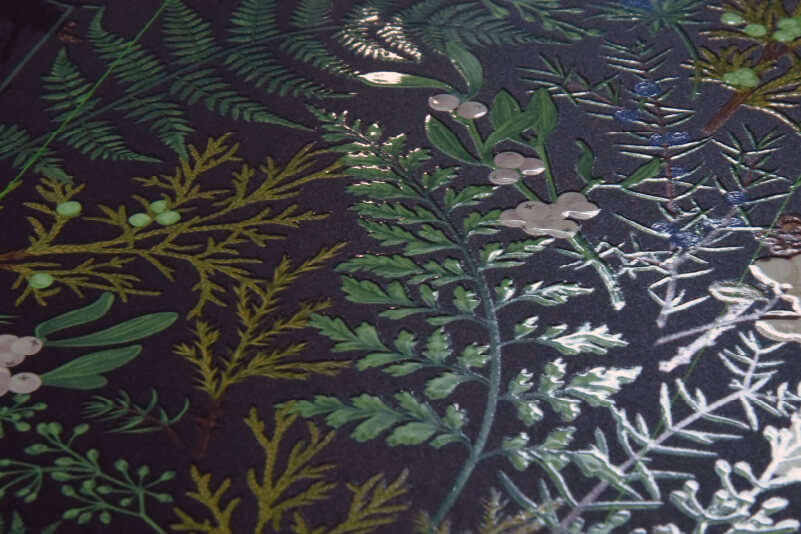
We also wanted to show the metallic finish of the card by printing onto a transparent vinyl. To do this effectively, we created a separate layer in the artwork to include white ink data. This was necessary to ensure that the entire box didn’t have a metallic appearance, which may have muted the rest of the detail.
We then simply chose elements from the design which should have a metallic effect, then ‘punched them out’ of the white ink layer.
Applying the Vinyl to the Card
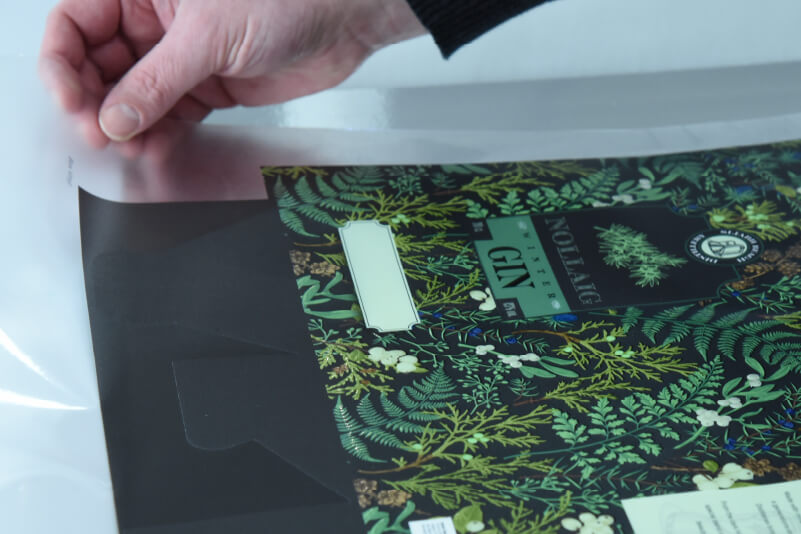
This sounds like a simple enough job, but it does require a certain amount of skill. If you plan on doing something similar, it’s important to have a clean area with plenty of working space. The second most important thing is to take your time – it’s very easy to end up with unwanted creases and bubbles if you rush the job, but these can be avoided by working slowly and steadily.
Method 2: Printing Directly to Card Stock
For this method, we used the LEC2-640 UV printer/cutter along with the ET-64 Extension Table accessory. This useful add-on supports the card at the front and back of the device, allowing us to use a roll-to-roll printer/cutter to print on card stock up to 1 mm thick.
From the previous method, we already had most of what we needed to proceed. We had our artwork and all the correct cut data – we just had to make a few minor adjustments to apply the same artwork to a direct printing approach.
Rather than extending the cut lines beyond the edges of the carboard, we used the cut data from the cardboard cut-out in the previous example. We also had to make some adjustments to the printer/cutter and set up the process in the correct order.
Initial Preparation
Since we had switched from adhesive vinyl to thicker card stock, we first performed a test print and recalibrated the printer. If we’d neglected this step, the print passes in each direction (bi-directional alignment) would have been misaligned, resulting in an unfocused print. Another solution if you have a little more time is to use 'uni-directional' printing to ensure optimal print quality.
We then swapped the cutting blade for a blade with a sharper angle, specifically designed for cutting thicker materials. We performed a cutting test to find the correct cutting force to penetrate the card and wrote the values down as we weren’t ready to cut the card at this stage.
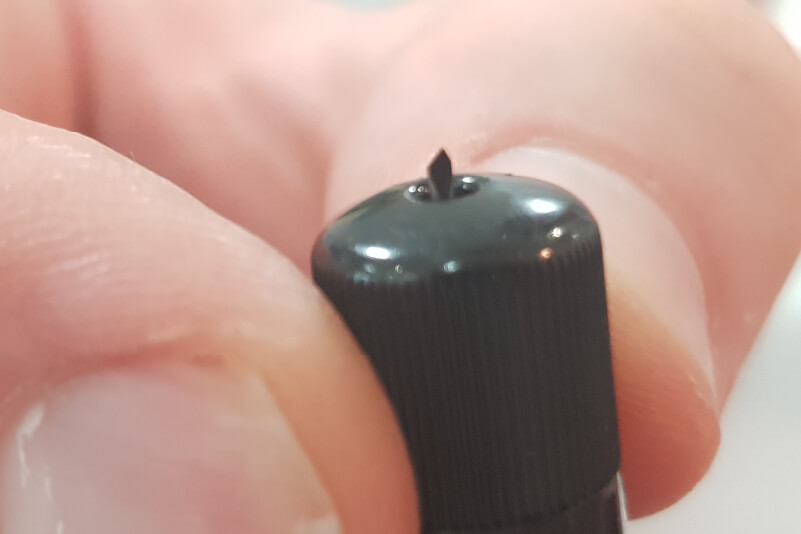
Next, we replaced the cutting blade with the creasing tool. Both tools were in separate blade holders which would make it easier to switch them later and ensured that the blade extension didn’t change between operations.
Setting the Jobs Up in VersaWorks
Since we would be switching tools mid-way through the job, we had to set up our jobs in a specific order. We split the artwork files into two separate files – one with the print and crease data, the other containing only the cut data. We then set the jobs up in VersaWorks like so:
- Creasing set up as a cut-only job, with five passes, then return to origin
- Print colour data, then return to origin
- Print spot gloss data, then return to origin
- Batch the previous three stages as a job group
- Add the cut data file as a separate cut-only job
Creasing and Printing
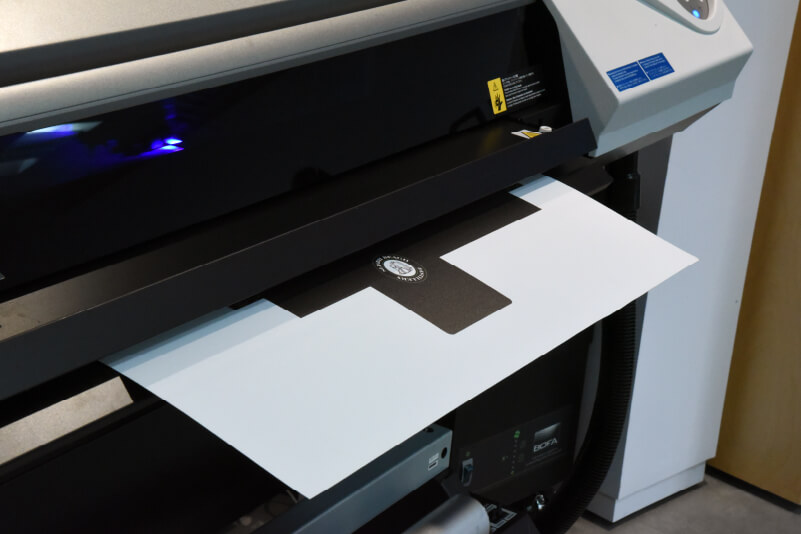
We started the first job group off in VersaWorks. As you’ve seen, the creasing operation is performed first. This avoids any distortion to the print which might arise from the creasing tool dragging through it.
Once this job group was completed, we swapped the creasing tool for the cutting tool and programmed the cut values we’d noted down after our earlier test cut. We then returned to VersaWorks and started the final cut file. Before we set it to go, we adjusted the settings to perform a perforated cut. You can learn more about cut settings in VersaWorks here.
Speed is of the essence for most print and cut jobs, but for this, we needed to slow the cutting down. This meant that the cut card would remain in place, held by the half-cuts. At a faster speed, the blade would likely tear through the half-cuts and the cut-outs would fall out during the cut operation, creating a risk of jamming the print head or causing a head strike.
Assembling and Finishing the Box
Once the vinyl was applied to the box, assembly was a quick and easy process. We simply folded the box along the crease lines and stuck it together using double sided tape. We also took this time to prepare the cardboard inserts to hold the bottle snugly in place.
Conclusion
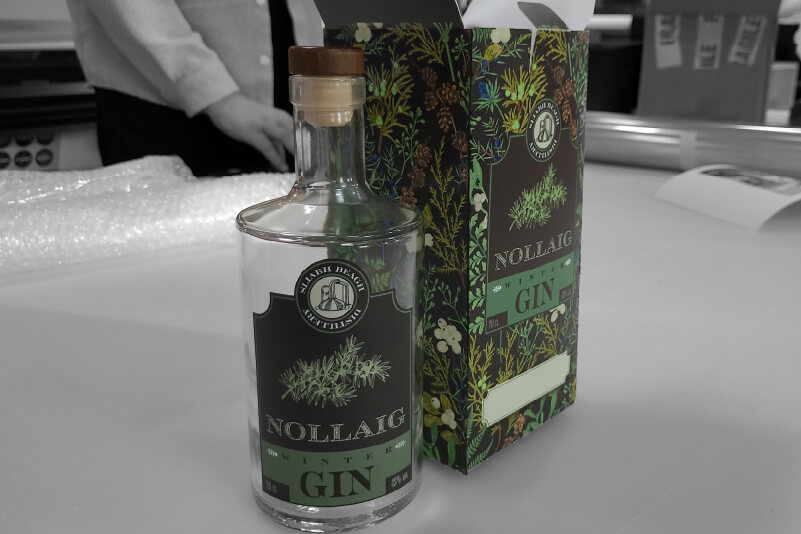
The box was now almost finished and both methods were looking great. All that was left was add some personalisation, but we’ll cover that in another article. The next job on the list was to make the bottle labels, which we’ll cover next time.
If you want to find out more about digital print solutions and how they can help businesses grow, get in touch with us and we’ll be happy to discuss your needs.

